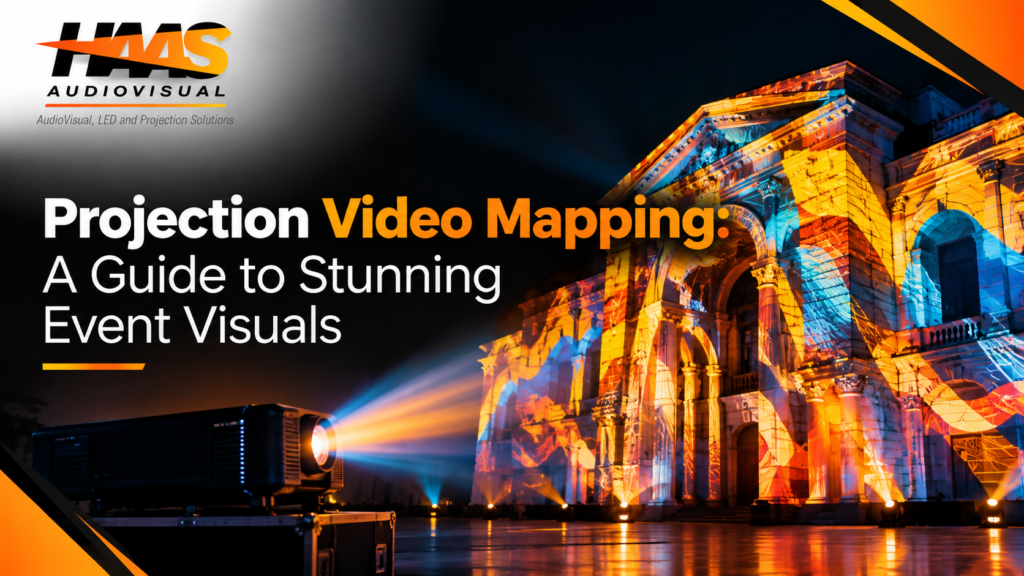


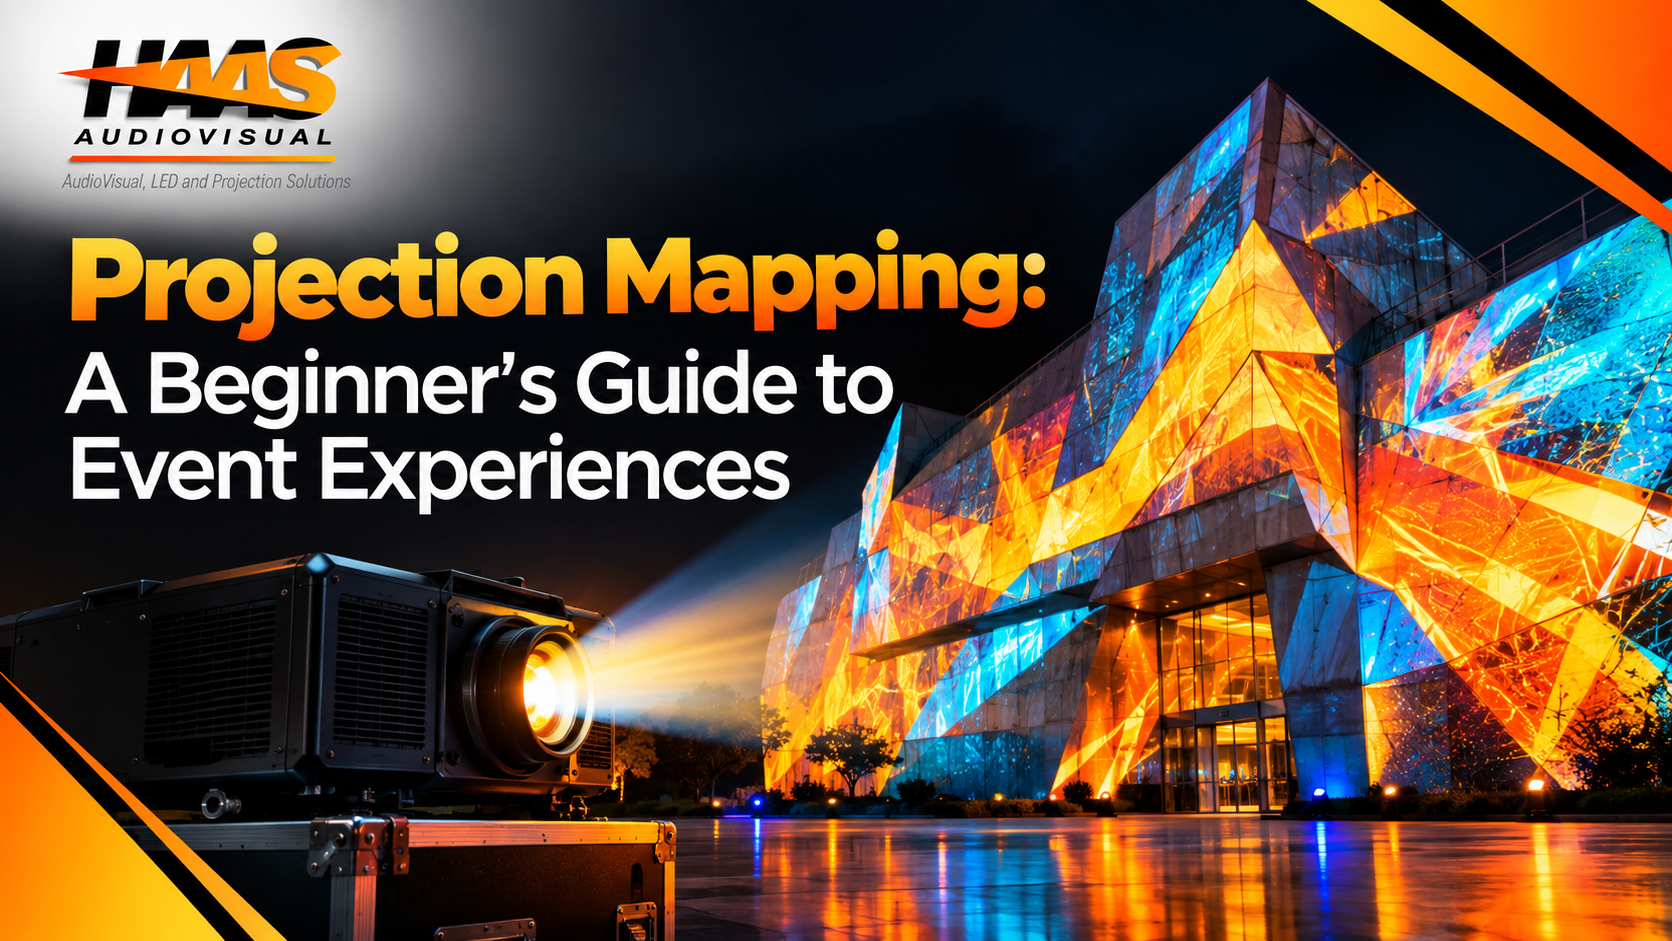
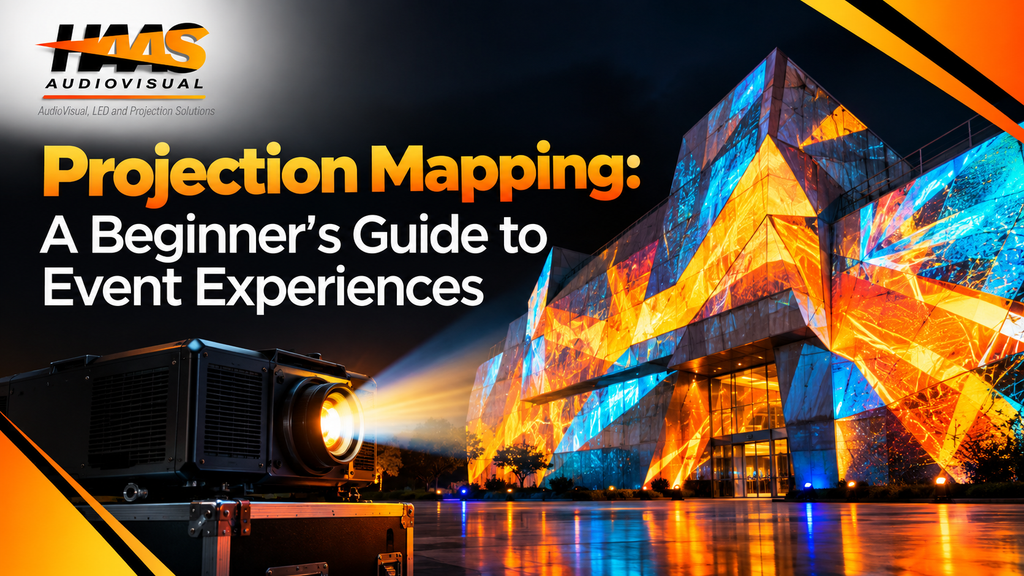
Imagine walking into an event and seeing a plain wall turn into a moving landscape. A stage suddenly appears to open, change shape, or come alive with color. A building facade tells a story through light and motion. Nothing physically moves, yet the entire space feels different. That is the magic of projection mapping.
For event planners and creative teams, projection mapping offers a fresh way to make an ordinary venue feel extraordinary. Instead of relying only on screens, banners, or physical décor, you can use the existing space as part of the experience. Walls, stages, buildings, products, sculptures, and other surfaces can become dynamic visual canvases.
The technology may sound complicated at first, but the basic idea is surprisingly easy to understand. Digital content is carefully shaped and aligned with a physical surface, then projected onto it. The result can be simple and elegant or highly immersive and dramatic.
This beginner’s guide explains how projection mapping works, what equipment you need, how to choose a surface, how content is created, and what mistakes to avoid. Whether you’re planning a corporate event, product launch, conference, gala, concert, or brand activation, these practical tips can help you decide if projection mapping is right for your next experience.
What Is Projection Mapping and How Does It Work?
Projection mapping is a visual technique that places digital images, animation, video, or graphics onto physical surfaces. Unlike traditional projection, the content does not have to stay inside a simple rectangular screen. Instead, designers adjust the visuals to match the exact shape of the object or structure.
The process usually begins with a detailed look at the projection surface. The production team measures the area, studies its angles and dimensions, and identifies features such as windows, columns, edges, curves, and other obstacles. Those details are then recreated digitally so the content can fit the surface accurately.
This is why projection mapping is also commonly called video mapping. It combines video production with precise visual alignment to make a physical object appear to change.
A typical workflow includes:
- Selecting and measuring the projection surface.
- Creating or capturing a digital model of the surface.
- Designing custom visuals for that shape.
- Setting up the projector and supporting equipment.
- Using software to warp and align the content.
- Testing the complete setup before the event.
The goal is simple: make the projected content look like it naturally belongs to the physical environment.
For a basic explanation of the technology and its event applications, you can also explore this helpful projection mapping guide from Haas Audiovisual.
Why Projection Mapping Works So Well for Events
Events are no longer just about what people hear or see from a stage. Attendees want experiences that feel different from everyday life. Projection mapping can help create that feeling by turning the venue itself into part of the story.
A traditional screen shows an image. Projection mapping can make the entire room feel like the image. For example, a corporate stage can change from a clean branded design into a digital cityscape, a futuristic environment, or an animated product presentation.
That flexibility makes it useful for many types of events. You can use it to create a dramatic opening, support a keynote, introduce a product, or change the atmosphere between different parts of a program.
Projection mapping can help you:
- Create a memorable event entrance.
- Add visual excitement to a keynote presentation.
- Transform a stage without rebuilding the set.
- Highlight a new product or service.
- Create immersive photo opportunities.
- Support live entertainment and performances.
- Build stronger visual storytelling around a brand.
However, the technology should serve the event rather than become the event. A beautiful animation means little if it does not support the message or audience experience. The best productions start with a clear purpose and then use projection to make that purpose more engaging.
Explore Different Types of Projection Mapping
Not every projection project follows the same approach. The right technique depends on the venue, surface, audience, budget, and creative goal.
One popular approach is architectural projection mapping. This technique uses buildings, facades, monuments, and other large structures as the canvas. Designers can use architectural details such as windows, doors, columns, and corners to create impressive visual illusions.
Then there is 3D projection mapping, which focuses more heavily on depth and complex shapes. Instead of treating the surface like a flat wall, designers create content around its three-dimensional structure. This can make a building appear to move, collapse, expand, rebuild, or transform.
Another option is interactive projection mapping. This approach allows the projected visuals to react to people or other inputs. Sensors, cameras, movement, sound, and touch can all become part of the experience.
Common applications include:
- Corporate conferences.
- Product launches.
- Concerts and live performances.
- Brand activations.
- Museums and exhibitions.
- Weddings and celebrations.
- Retail installations.
- Stage and scenic design.
- Immersive entertainment experiences.
Each format has different technical requirements. Therefore, it is important to choose the technique after understanding your venue and event objectives.
Choose the Right Surface Before Buying Equipment
One of the biggest beginner mistakes is choosing a projector before examining the surface. In reality, the surface should be one of the first things you evaluate.
Light-colored, matte surfaces usually provide predictable results because they reflect projected light well. Dark or highly reflective materials can be more challenging. Strong textures may also affect how cleanly an image appears.
That does not mean difficult surfaces are impossible. Experienced production teams can often adapt the content and technical setup to unusual environments. Still, understanding the surface early helps you avoid unnecessary problems later.
Before planning the setup, consider:
- Surface size and shape.
- Surface color and texture.
- Projector throw distance.
- Available mounting or rigging positions.
- Ambient lighting.
- Audience viewing angles.
- Power availability.
- Possible physical obstructions.
- Indoor or outdoor conditions.
- Weather for outdoor productions.
Ambient light deserves special attention. A projection that looks bright and colorful in a dark rehearsal room may appear much weaker when venue lighting is turned on.
That is why a proper site survey is so valuable. It helps determine whether projection is the best solution or whether it should be combined with LED displays, lighting, scenic elements, or other audiovisual technology.
How to Choose a Projection Mapping Projector
The projector is obviously an important part of the setup, but choosing one is not simply about buying the brightest model available.
A professional projection mapping projector needs to match the size of the surface, viewing distance, ambient light, lens requirements, resolution, and creative goals. A small indoor installation may require a completely different setup from an outdoor building projection.
Throw distance is especially important. If the projector cannot be placed at a suitable distance, it may not cover the required area correctly. Lens selection also affects the size and shape of the projected image.
For large productions, multiple projectors may be necessary. In that situation, technicians can use warping and edge blending to combine multiple images into one continuous visual.
When evaluating a projector, consider:
- Brightness and light output.
- Native resolution.
- Lens options.
- Throw ratio.
- Contrast.
- Projector placement.
- Number of projectors.
- Edge-blending capability.
- Signal compatibility.
- Backup equipment.
Do not select equipment based only on price. The cheapest option can become expensive if it produces weak images, creates alignment problems, or cannot handle the venue conditions.
Professional AV teams can also help determine the right combination of projectors, lenses, media servers, and signal equipment before you commit to a setup.
Projection Mapping Software: Where the Magic Gets Aligned
Hardware creates the image, but projection mapping software helps make that image fit the physical world.
The software allows technicians and designers to manipulate content so it matches the shape of the projection surface. They can warp images, create masks, adjust output areas, blend multiple projectors, and control visual playback.
For beginners, it helps to think of the software as a digital control room. It tells the projected image where to go and how to behave.
A typical software workflow includes:
- Importing images, videos, and animations.
- Creating projection zones.
- Adjusting corners and shapes.
- Warping content to match the surface.
- Masking areas that should remain dark.
- Blending multiple projector outputs.
- Testing alignment.
- Controlling playback during the event.
There are several mapping and media-server platforms available, and the best choice depends on the complexity of the project. A small creative experiment may require a simpler workflow, while a large live production may need advanced playback, synchronization, and real-time control.
The important thing is not to choose software simply because it is popular. Choose a platform that matches your team’s experience and the project’s technical requirements.
Follow a Simple Projection Mapping Tutorial Workflow
If you’re learning projection mapping for the first time, don’t start with a complicated building or huge outdoor production. Start small and learn the fundamentals.
A basic projection mapping tutorial can begin with a simple wall, box, stage element, or small object. This gives you a chance to understand alignment, content design, brightness, and playback without dealing with too many variables.
A beginner-friendly workflow looks like this:
- Choose a simple surface.
Start with something that has clear edges and minimal texture. - Measure the surface.
Accurate measurements help your digital content match the real object. - Create your visuals.
Design images, animation, or video that work with the shape. - Set up the projector.
Position it securely and keep the lens free from obstructions. - Load the content.
Import your visuals into the mapping software. - Align the image.
Adjust the corners, perspective, and projection zones. - Test the visuals.
Look for distortion, brightness issues, unwanted spill, or alignment problems. - Run the complete sequence.
Test the content, audio, lighting, and playback together.
Once you understand the basic workflow, you can move toward more complicated surfaces and multiple-projector installations.
The key is patience. Projection mapping becomes easier with practice because you start understanding how physical space, light, software, and content work together.
Design Content That Works With the Space
Technology may create the initial wow factor, but content is what makes people care.
A common mistake is designing generic animation and trying to force it onto a surface. Instead, designers should create content specifically for the architecture or object.
For example, windows can become part of an animation. Columns can become visual borders. Stage steps can appear to move. A product can seem to open, rotate, or transform. These details make the project feel connected to the physical environment.
Content should also support the event’s message. A product launch might reveal features one at a time. A corporate conference could use branded motion graphics. A gala could use elegant patterns and atmospheric visuals.
A strong content workflow often includes:
- Creative concept development.
- Storyboarding.
- Surface mapping.
- 2D or 3D design.
- Motion graphics.
- Brand integration.
- Audio synchronization.
- Technical previews.
- Final rendering.
- On-site testing.
Keep readability in mind, too. Fast-moving graphics may look impressive, but they can become tiring if used constantly. Likewise, small text can become difficult to read when placed over busy animation.
The best content is not necessarily the most complicated. It is the content that communicates the right message at the right moment.
Combine Projection With Audio and Lighting
Projection mapping becomes even more powerful when it works together with other event technologies.
Imagine a product reveal. The room becomes darker. Music slowly builds. A visual sequence begins moving across the stage. The product appears at the center. At the reveal moment, the lighting changes and the music reaches its peak.
The projection is only one part of that experience. Sound and lighting help create the emotional timing.
A coordinated production may include:
- Synchronized sound effects.
- Music-reactive visuals.
- Stage lighting transitions.
- Camera feeds.
- Live video content.
- Presenter cues.
- Time-coded playback.
- Lighting changes.
However, balance is important. Excessive lighting can reduce projection visibility, while overly loud sound can distract from the visual story.
For that reason, all systems should be tested together during rehearsal. Do not test the projector alone and assume the final show will work the same way.
If you’re interested in seeing how projection can fit into a larger event production, explore Haas Audiovisual for additional audiovisual solutions.
Avoid These Common Projection Mapping Mistakes
Projection mapping can look simple when everything is working correctly. Behind the scenes, however, many technical details need attention.
The good news is that most beginner mistakes are preventable. Careful planning can save time, money, and a lot of stress on event day.
Watch out for these common problems:
- Choosing a projector based only on price.
- Ignoring ambient light.
- Designing content before measuring the surface.
- Underestimating setup time.
- Using low-resolution visuals on large surfaces.
- Forgetting audience viewing angles.
- Failing to test the complete system.
- Not preparing backup playback options.
- Leaving calibration until the last minute.
- Using visual effects that do not support the event.
Another common mistake is trying to map everything. You do not need to cover an entire venue to create a memorable experience.
A well-designed entrance, stage, product display, or architectural feature can become the visual centerpiece. Sometimes, a smaller and more focused projection creates a stronger result than a complicated installation covering every available surface.
When Should You Hire a Professional Team?
Small projection experiments can be handled by creative teams with suitable equipment and software. However, large event productions introduce more variables.
Multiple projectors, complex architecture, outdoor conditions, live content, tight schedules, synchronization, rigging, and audience safety can quickly make the project more demanding.
Professional support becomes especially useful when:
- The surface is large or highly complex.
- Multiple projectors are required.
- The event takes place outdoors.
- The visuals need precise synchronization.
- Interactive elements are involved.
- Projection must work with lighting and sound.
- The event has a strict production schedule.
- The projection experience is central to the event.
A professional team can help with the process from venue assessment and equipment selection to content coordination, calibration, rehearsal, operation, and troubleshooting.
For a deeper look at planning memorable projection experiences, you can also explore this guide to stunning event visuals.
The biggest advantage is not simply access to better equipment. It is having experienced people who understand how creative ideas translate into real-world event environments.
Create an Experience Your Audience Will Remember
Projection mapping is much more than pointing a projector at a wall. It is a creative way to turn a physical environment into part of an event’s story.
For beginners, the process can seem technical. However, the fundamentals are straightforward: understand the space, select the right surface, choose suitable equipment, create purposeful content, align everything carefully, and test before the audience arrives.
You also do not need a massive production to make an impression. A carefully designed stage, entrance, product, wall, or architectural feature can become an unforgettable visual moment.
Most importantly, start with the experience you want to create. Then choose the technology that helps you deliver it.
When creative content, reliable projection mapping equipment, accurate calibration, sound, lighting, and thoughtful event planning come together, an ordinary space can become something guests genuinely remember.
FAQs About Projection Mapping
What is projection mapping?
Projection mapping is a technique that projects specially designed digital content onto physical surfaces. Unlike standard projection, the visuals can be shaped to match walls, buildings, stages, products, sculptures, and other irregular objects.
Is projection mapping the same as video mapping?
Yes, the terms are often used interchangeably. Video mapping generally refers to projecting video or animated content onto physical surfaces while adapting the visuals to their shape.
What is 3D projection mapping?
3D projection mapping uses the depth and geometry of a three-dimensional surface to create visual illusions. It can make structures appear to move, transform, open, collapse, or change shape.
What is architectural projection mapping?
Architectural projection mapping uses buildings, facades, monuments, and other structures as projection surfaces. Designers create content that works with architectural details such as windows, columns, doors, and edges.
Can projection mapping be interactive?
Yes. Interactive projection mapping can respond to movement, sound, touch, cameras, sensors, or other inputs. This makes it particularly useful for exhibitions, brand activations, entertainment, and immersive installations.

Related Posts